
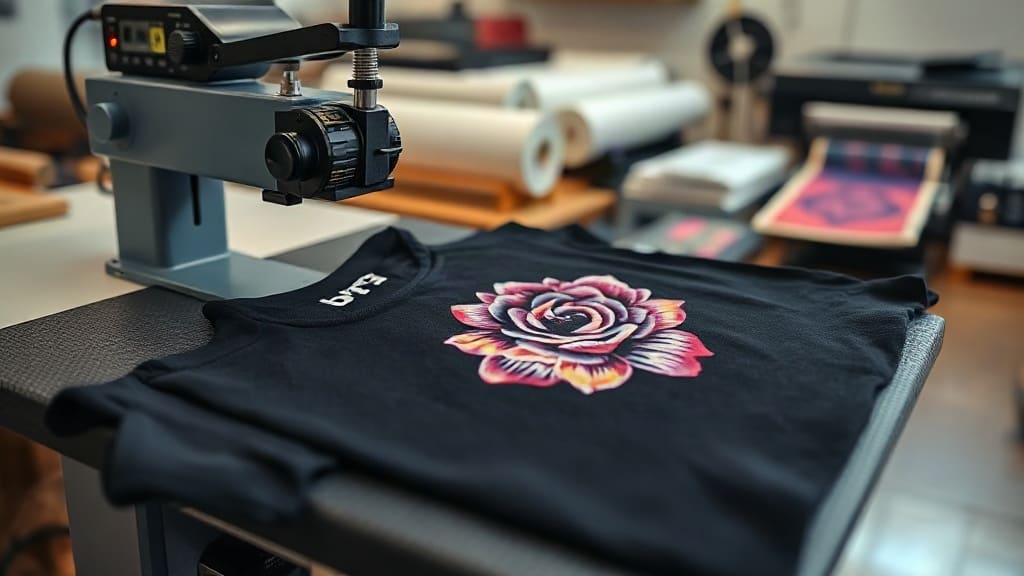
If you've been in the custom apparel game for any length of time, you've likely heard the buzz around DTF transfers. Maybe you're curious about adding them to your production lineup, or you're a hobbyist looking to step up your game. Either way, understanding DTF (Direct to Film) technology can open up a world of possibilities for printing on fabrics that used to be off-limits. In this guide, I'll walk you through everything you need to know, from the basics of how DTF works to pro tips for flawless application.
What Are DTF Transfers?
DTF stands for Direct to Film. It's a printing method where your design is printed onto a special PET film using a DTF printer, then coated with a hot-melt adhesive powder. Once the powder is cured, the transfer is ready to be applied to fabric using a heat press. The result? Vibrant, durable prints that bond beautifully to cotton, polyester, blends, and even tricky fabrics like nylon and leather.
Unlike DTG (Direct to Garment) or screen printing, DTF doesn't require pre-treatment or specialized inks for different fabrics. This versatility is a big reason why DTF transfers have become so popular among small businesses and DIY enthusiasts alike.
Why Choose DTF Transfers Over Other Methods?
There are several compelling reasons to consider DTF for your next project:
- No color limitations: DTF printers use CMYK plus white ink, so you can print full-color designs with gradients, photographs, and fine details without worrying about color matching or spot colors.
- Works on almost any fabric: From 100% cotton to 100% polyester, and even stretchy materials like spandex, DTF adheres reliably.
- No weeding or masking: Unlike vinyl, DTF transfers come ready to press. No tedious cutting or weeding required.
- Cost-effective for short runs: Without setup costs like screen printing, DTF is economical for one-off items or small batches.
- Soft hand feel: When applied correctly, DTF prints have a soft, flexible feel that won't crack or peel easily.
How to Apply DTF Transfers: Step-by-Step
Applying DTF transfers is straightforward, but following the right steps ensures a professional, long-lasting result. Here's my tried-and-true process:
1. Prepare Your Workspace and Materials
You'll need a heat press (or a home iron as a last resort, though results vary), your DTF transfer, the garment, and a protective sheet (like parchment paper or a Teflon sheet). Ensure your garment is clean, dry, and wrinkle-free.
2. Set Your Heat Press
Temperature and pressure are critical. For most DTF transfers, set your press to 325°F (160°C) and medium pressure. Always check the instructions that come with your transfers, as different films may have specific requirements.
3. Position the Transfer
Place the DTF transfer onto the garment with the printed side facing up. If your transfer has a carrier film, the design should be touching the fabric. Use heat-resistant tape if needed to keep it in place.
4. Press the Transfer
Close the press and apply heat for 10-15 seconds. For larger designs, you might need to press in sections to ensure even coverage.
5. Peel the Film
DTF transfers can be peeled either hot or cold, depending on the film type. Most modern films are cold peel, meaning you wait a few seconds for the transfer to cool before slowly peeling away the carrier film. If you peel too soon, the design might stretch or lift.
6. Post-Press for Durability
For extra durability, especially on garments that will be washed frequently, cover the design with a protective sheet and press again for 5-10 seconds. This helps the adhesive fully bond with the fibers.
Common Mistakes to Avoid with DTF Transfers
Even seasoned crafters can run into issues. Here are a few pitfalls to watch out for:
- Insufficient pressure: Without enough pressure, the transfer won't adhere properly, leading to premature peeling.
- Wrong temperature: Too hot and the film may scorch; too cool and the adhesive won't activate.
- Peeling too fast: Always let the transfer cool completely if using cold peel. Rushing can distort the design.
- Ignoring fabric type: While DTF works on many fabrics, some specialty materials (like certain nylons) may require a lower temperature or a bonding agent.
DTF vs. Other Transfer Methods: A Quick Comparison
How does DTF stack up against vinyl, DTG, and screen printing?
- Vinyl: Great for simple, single-color designs, but weeding is time-consuming and multi-color designs are impractical.
- DTG: Excellent for 100% cotton, but requires pre-treatment and can be less vibrant on dark shirts.
- Screen printing: Cost-effective for large runs, but setup costs are high and color complexity is limited.
- DTF: Offers the best of both worlds: full-color, no setup, and works on a wide range of fabrics.
Tips for Storing and Handling DTF Transfers
To keep your DTF transfers in top shape, store them in a cool, dry place away from direct sunlight. Avoid folding or creasing the film, as this can damage the print. If you're not using them immediately, keep them in their original packaging or a sealed bag to prevent dust and moisture from affecting the adhesive.
Frequently Asked Questions About DTF Transfers
Can I use DTF transfers on dark garments?
Absolutely! DTF transfers include a white ink layer that acts as a base, so colors pop even on black or dark navy shirts. Just ensure your printer or supplier uses enough white ink for opacity.
How long do DTF transfers last?
When applied correctly and cared for properly, DTF prints can last as long as the garment itself. Wash inside out in cold water and avoid ironing directly on the print to maximize longevity.
Do I need a special printer to make DTF transfers?
Yes, DTF requires a dedicated DTF printer that uses pigment inks and prints onto PET film. However, you can also buy pre-made DTF transfers from suppliers if you don't want to invest in a printer.
Can I stretch DTF prints?
DTF transfers have some stretchability, making them suitable for performance wear and stretchy fabrics. However, extreme stretching may cause cracking over time, so it's best to avoid overstretching the printed area.
What's the difference between DTF and DTG?
DTG prints directly onto the garment, while DTF prints onto a film that is then transferred. DTF works on more fabric types and often produces more vibrant colors on dark shirts, while DTG is limited mostly to cotton.
Final Thoughts
DTF transfers have truly changed the game for custom apparel. Whether you're a small business owner looking to offer more options to your customers or a DIYer wanting to create professional-looking shirts at home, DTF is worth exploring. With the right equipment and a bit of practice, you'll be producing stunning, durable prints in no time. So go ahead, give DTF a try, and watch your creativity come to life on fabric.